Seven days ’til Christmas day!!! Let’s admit it, things are getting serious at this stage :).
For those who are still quite not done with all the christmassy stuff – whether you have been so distracted lately and you woke up this morning discovering in shock that we are actually just one week to Christmas or simply because you have been busy running all around town to find the perfect gifts for everyone – no need to panic because today the whole Travel Brazil Tours’ team is more than happy to come back to you for a special “Do It Yourself Christmas Decorations”.
For the next 7 days we will publish a new post daily with some original homemade ideas, from Christmas Trees (yes, we just wrote trees because unlike what some may think, 7 days is still plenty of time for you to make your own…), to Christmas Wreaths, to lovely table ornaments, to more general embellishments…the list is long and the activities real fun.
So for this last week before Christmas Day, let’s express our creativity together. Relax yourself, ask your children, friends or hubby to join and together enjoy some manual activities…
Let’s begin with…a DIY Handmade Christmas Tree!!
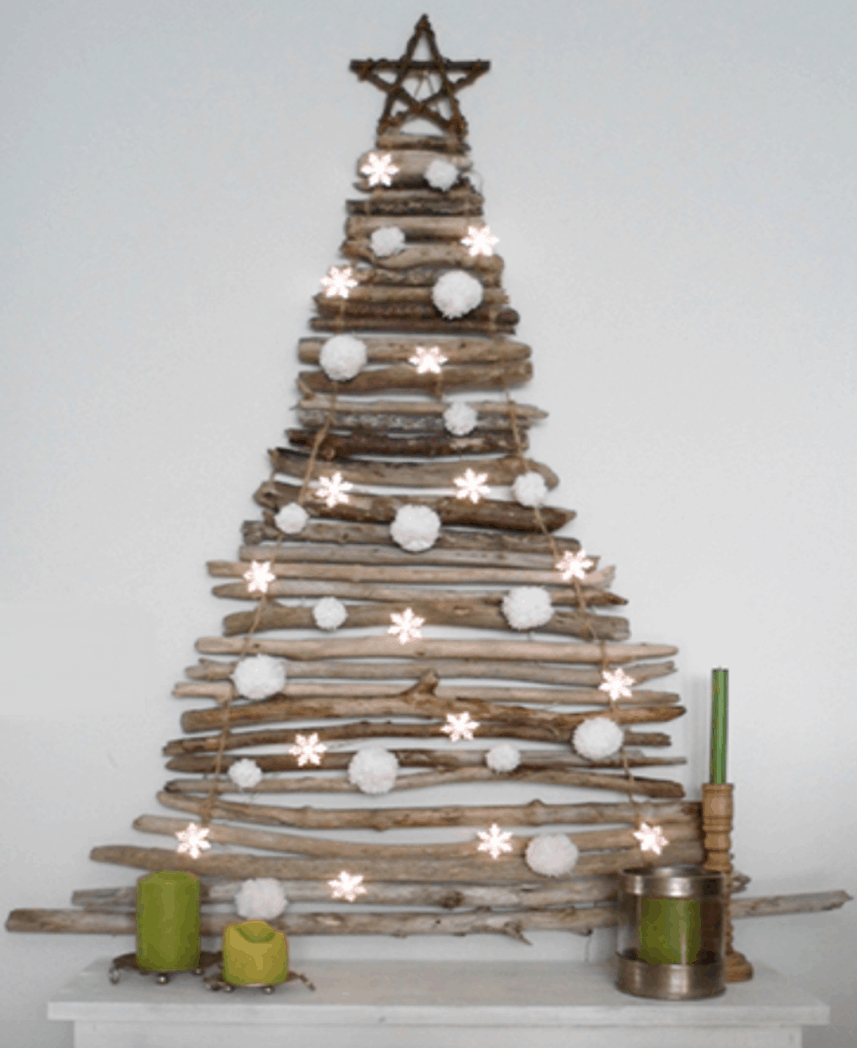
 As you can see, this is a pretty simple Christmas Tree, yet very lovely and a great alternative to the classic trees we see all around. You do not need much material to realize it, the steps are quite straightforward and it is also fairly quick to set up. What we really like about this tree is the numerous possibilities you have to decorate it once the main structure assembled. Whether you feel like making everything yourself this year or if you decide to use the ornaments you already have at home (lights, no lights, little angels, stars, balls, and plenty more) the end results is very likely to surprise you a lot.
MATERIAL:
- wooden branches of different sizes (make sure the wood is not wet)
- linen string (usually beige but if you feel like doing a very colorful tree then don’t hesitate to customize with pink, blue, green…)
- 1 metal hook (strong enough to carry the whole structure)
- Shears, scissors, pins, paint
Optional:
- Glue, tape, stapler, ribbons, pompoms, fabric, electric lights…
STEPS:
1° Gather all the branches and start organizing them by size (shortest on top and so on…). Cut, adjust, shorten all the branches that need a little twist.
2° Once you have an idea of the dimensions of your tree, place the metal hook inside a wall (don’t hesitate to take a tape measure (you don’t want to make unnecessary holes in your wall and neither do we ;P).
3° Once the hook firmly fixed take your linen rope (you will need several meters) and uncoil the reel until you have 5-6 meters (could be more could be less depending on the size of the tree you want to create but you will always be able to fix it if you don’t take enough). Once you’ve around 6 meters of rope fold it in two until you find the middle. Once the center of the rope determined, create a small loop that you will end with a solid knot.
4° Place the small loop you just made on your string inside the hook that’s now in your wall. Then take the wooden branches one by one (starting by the shortest) and attach each side to each side of the rope. You can let some space in between each branch or not, it is totally up to you and the end result you are looking for…however, make sure you leave a small space (in the sape of a triangle) between your hook and the first branch you attach, it will be used later to add the final Star on top of the tree.
5° Once all your wooden branches firmly attached to one another make a strong knot on each side of the final (and longest) branch and cut the remaining pieces of your linen string.
6° You now have your structure on the wall, it’s time to express you creativity a little more…You can directly stick decorative items on the branches with some glue or use pins and pinch them a bit everywhere to then hang some balls and other items. (we will give you some more ideas in our next post tomorrow :P).
7° Don’t forget to add fairy lights and a star at the very top that you will be able to fix to the hook to hide it.
Your tree is now ready!!!
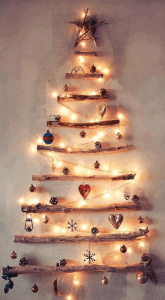
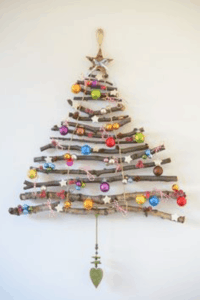
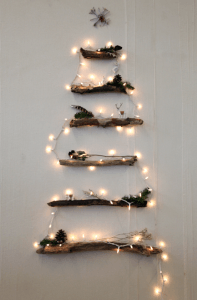
The images below are based on the same concept. We hope you will enjoy this activity as much as we do and we cannot wait to see your trees. So send us some pictures :)…





Share This
Share this post with your friends!